When a hose bursts on equipment, the most common response is simply to replace it and toss the failed hose into the scrap bin. Yet that failed hose is the cheapest, most honest test sample available. Where the rupture occurs, its orientation, the profile of the fracture surface, and how the steel wires fray often tell the full story of the failure. Few operators, however, know how to interpret these clues.
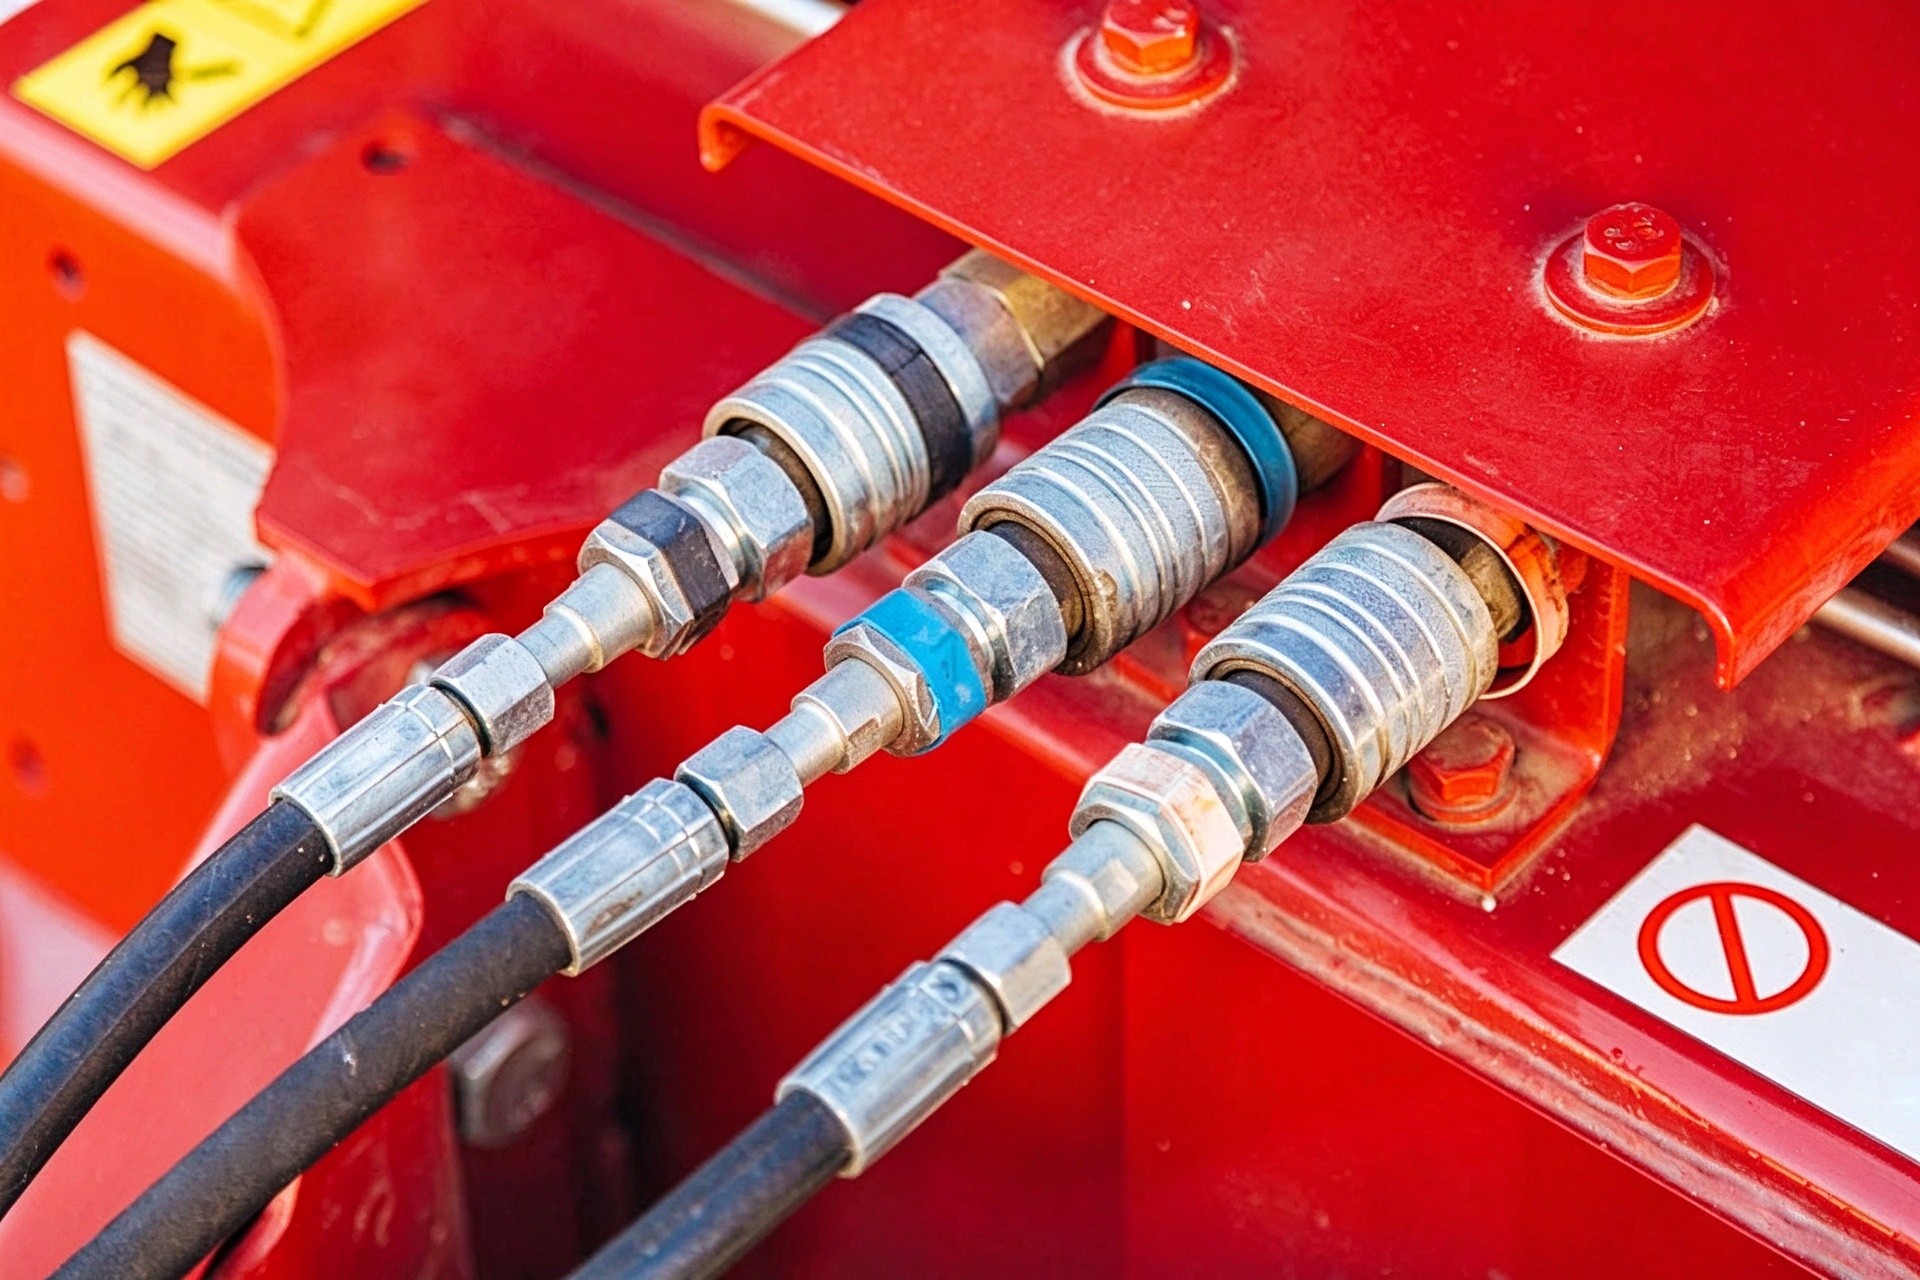
Start with the rupture location. The location reveals clues even before the fracture shape does. The zone 5 to 10 cm away from the ferrule crimp end is the most frequent failure site. This area features abrupt stiffness change caused by crimp transition, concentrated bending stress, and amplified vibration transmitted through the hose. If multiple hoses on the same equipment fail at nearly identical positions, inspect routing layout and crimp quality first, rather than blaming the rubber compound prematurely.
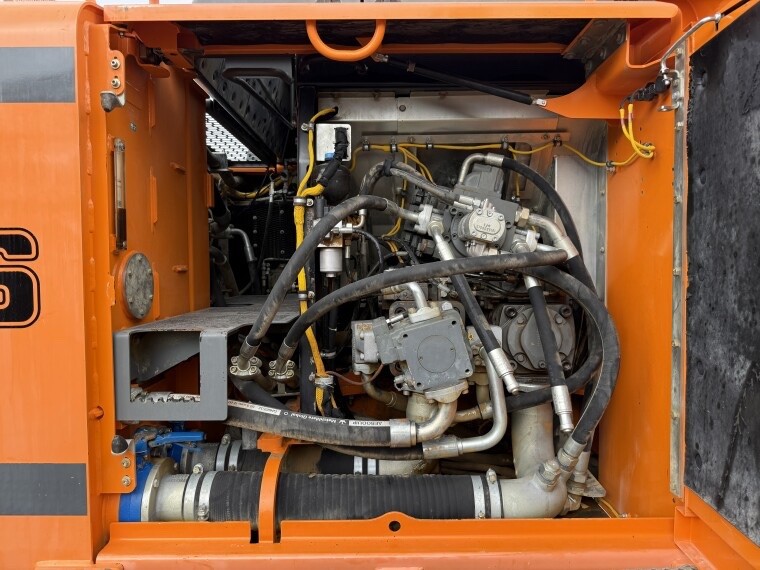
The second high-risk zone lies at clamp mounting points, contact edges of metal structures, or the end of protective sleeves. These spots share the same root condition: localized friction or restriction. The outer rubber wears thin, and steel wires undergo repeated bending; failure progresses from the outside inward. If bulging appears on a straight free span with no abrasion or bending load, material compatibility, fluid media or batch quality should become your focus.
Next, examine the fracture pattern. A longitudinal split, broom-like frayed steel wires and visible delamination near the fracture mostly indicate pressure pulse fatigue or fitting-end issues. Repeated cyclic pressure causes interlayer separation first, and a normal operating pressure eventually tears apart the already weakened structure. A pinhole jet leak, a small localized bulge with polished abrasion marks usually points to penetration after external damage. The outer cover wears away and loses restraint over the wire reinforcement; the remaining steel wire layers can no longer withstand working pressure. Uniform swelling across the hose length plus widespread oil seepage, sticky or brittle inner tube, signals incompatibility with the conveyed fluid or operating temperature. When the rubber compound is incompatible with hydraulic oil, the inner tube swells rapidly or loses plasticizer and turns brittle within weeks. This is not accelerated aging — it is a wrong selection. Installing hoses from the same batch will only repeat the failure.
Separate inspections for steel wire and inner tube Slice the failed section lengthwise for inspection. Rust-colored fracture surfaces on steel wires mean moisture has infiltrated through a leak path or fitting clearance over an extended period. Clean, flat fracture surfaces without rust indicate a recent one-time overpressure event. If rubber peels cleanly away from reinforcement wires with minimal adhesion, check the bonding system and shelf life before installation. Grooves etched onto the inner tube surface are formed by long-term high-velocity fluid erosion, which lets you estimate how long leakage has persisted.
This diagnosis requires no sophisticated lab equipment: only a knife, caliper and camera. The critical rule is preserving the original failure state. Do not clean the hose, trim fracture edges or remove fittings before documentation. Otherwise, the most valuable evidence will be destroyed immediately.